Posts tonen met het label Soviet Union. Alle posts tonen

woensdag 28 juli 2021

Resistance encampment

 An overview pic of the completed resistance encampment.

As stated elsewhere, this project was mainly conjecture - this is what I feel a partisan encampment could have looked like, and in my opinion it looks the part.

From left to right: HQ, shelter and ammo bunker.


Please check the individual posts for details of the structures.


Resistance ammo bunker

 To round off my World War II resistance encampment I decided to build an ammo bunker.

Not sure if resistance camps had one, but if they didn't they ought to.

Naturally, I went with one built wih locally available materials: logs and earth.

The basic structure was as so often is the case styrene, but that will be hidden from the public view soon.


The logs were barbeque skewers. I stock those in several varieties, this was the medium thickness kind.


Chalk paint as primer works well with acrylic washes.


The stucture dug in and kinda bomb-proofed with my usal mix of sand and diluted white wood glue - a mix that dries rock hard within a day or two. 


Brown acrylic wash applied.


Landscaping painted. In tyhis pic it was still wet, it turned out without glossy spots.


Resistance HQ

 After building the first resistance shelter, I went on to do a second one, which I dubbed the HQ.

The construction went as usual: styrene on dead CD - yes, still got a pile of those - clad with coffee stirrers, which I do buy wholesale.


Chalk paint as a primer works in my opinion best with acrylic washes.


Floor dirtied.


Landscaping done. My usual mix of sand and diluted white wood glue, which dries rock hard.


Brown wash with diluted acrylic paint.


The "landschaping" painted.


(Clean) tissue canvas roof.


Canvas roof painted and camouflaged.


Again, an easy but functional wargames building, and a rather unique one.


Resistance hide-out

 I've painted quite a few partisans to be used for the Eastern Front, and I figured they needed somewhere to live.

Details of partisan encampments are sketchy to say the least, so I had to improvise. 

I decided to do a semi-dug in structure with a canvas roof, purely because it's something I would and could have built under the same circumstances.

I also decided to make it CD-based, since after all it wasn't just a building but also a bit of terrain.

I started off with a building method I feel comfortable with: styrene, clad with coffee stirrer planks. The roof beams thought they were going to be barbeque skewers.


Primed with chalk paint. The terrain built up with a mix of dried sand and diluted white wood glue, which gives in a rock hard result. 


Wash with diluted acrylic paint. Floor muddied.


The canvas roof originally was a tissue - a clean one, I must stress.


Canvas painted and given an improvised camo pattern.


Almost all the comforts of home deep in the forest.


Fourth Polish House - a bit posher

After three rather modest houses for my 1939 model Polish village, it was time to add a bit posher one, for the big man in town.

I was inspired by a pic from a Polish museum village or open air museum - sorry, don't know which, my Polish is sadly lacking.

The end and rear walls were done in the usual way: coffee stirrers on styrene sheet, with matchstick window frames.


The front wall was provided with a boot room


The roof halves look nice like this, in reality I had to brace the rears to stop them from warping.


A moment of silence please for the hundreds of coffee stirrers who were sacrificed for this building.


A few supports added to stiffen the structure a bit.


Not one, but two chimneys! Styrene, obviously.


And everything put together.


Walls painted, roof primed with chalk paint.


Roof washed, chimneys painted.


Framing painted. Possibly attracted by the appropiate colours of the wall, a Soviet batallion command took possession of it already.


Polish stable

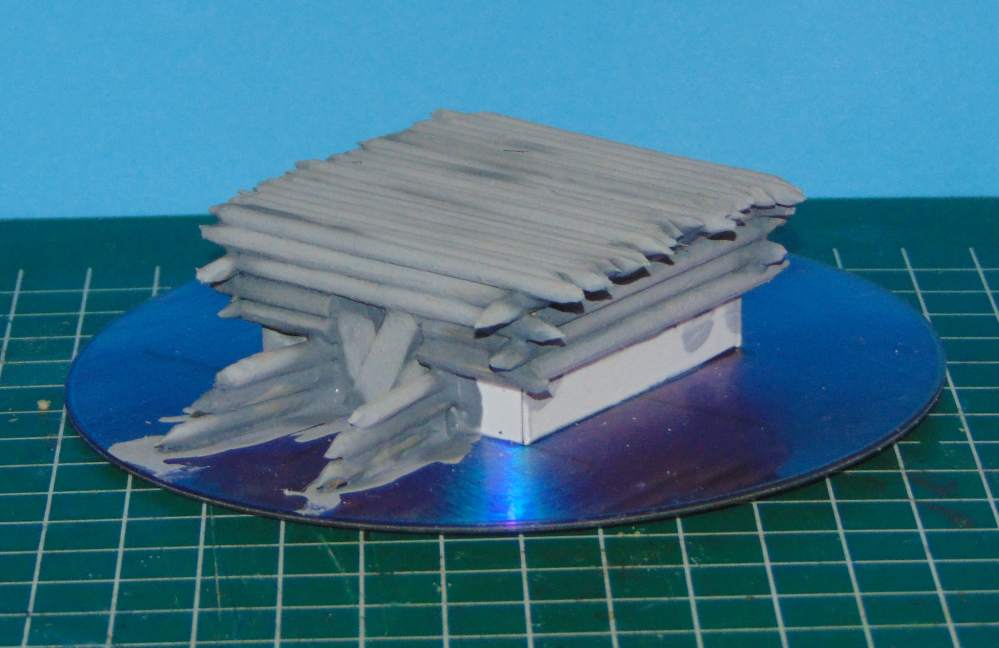
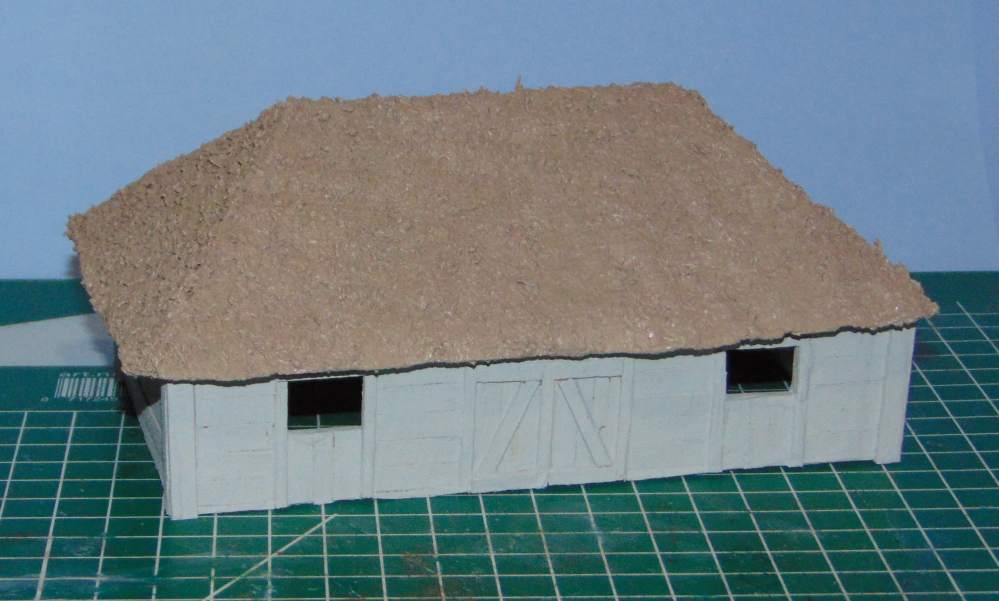
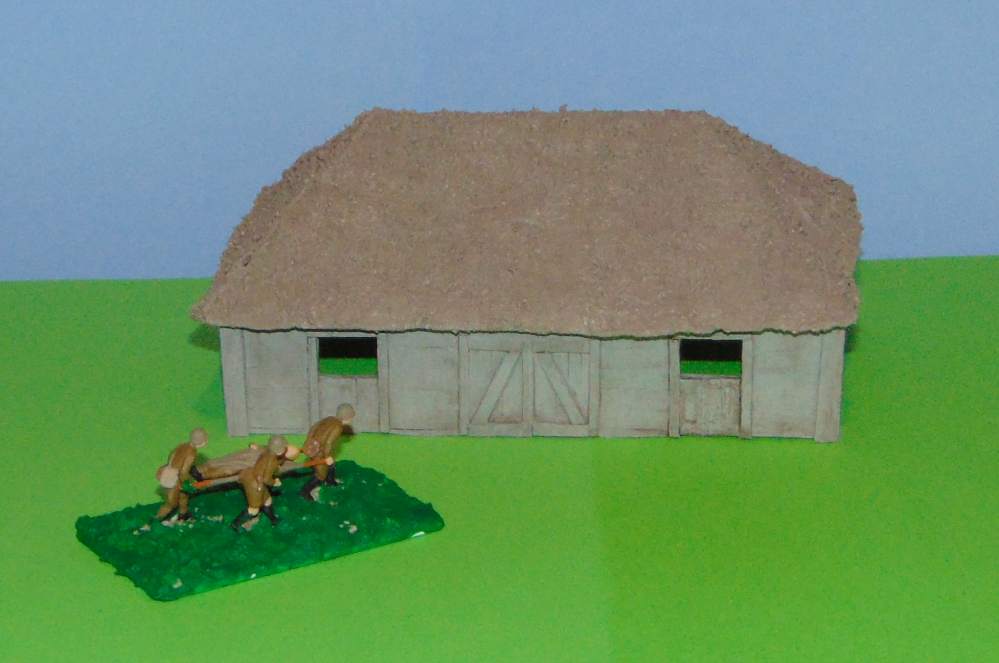
 To add some more variety to my 1939 Polish model village, I added a stable.

The basic shape is identical to the polish houses I did so far. Large carriage door in the center of the long side, horse boxes on either side.

Basic styrene build, so far so good.


The planks went on okay, but I did not realize the roof was going to be a problem. Building tip: never ever use a striped or otherwise patterned towel as thatch.


The wash should have covered the stripes. Should. As you can see, it didn't.


The walls were primed with chalk paint, and after three applications of ever thicker washes the stripes finally surrendered. 
Naturally, by then the strucure of the towel was also burried under all that acrylic, so I had to brush the roof to get at least a semblance of the right texture back.


The finished building, complete with Soviet medics who plan to turn it into a field hospital. 


So boys and girls, what have we learned today? 
Striped towels may be fine for drying, but NOT for roofing.


maandag 10 juni 2019

More early war 1/72 plastic Soviets

Good progress on my early war Soviets. Here you see the now completed bataillon command plus a few extras, the infantry company command and two infantry platoons, the third one still stuck in the painting queue somewhere.


zaterdag 25 mei 2019

FoW Soviet HMG company

Finished another FoW in 1/72 plastics unit - this time an Early War Soviet HMG company.
Front row: no less than 9 HMG bases - no such thing as too many Maxims.
Second row: supporting infantry.
Safely at the rear: the company command plus the kommissar to make sure everybody points the right way.


maandag 8 januari 2018

Village well

First scenery item finished after the  broken shoulder interruption: the village well. It had been in the works for several months already.

I started with a dead CD, and added some BBQ skewers and coffee stirrers.


After that, I added some sand/diluted PVA mix to mimic weeds, after which I spray primed the lot:


A brown wash, and some green on the weeds, and it began looking the part.

By the way, the bucket started its life as the tip of a ballpoint pen.


Last night I added the finishing touches, by painting the bucket.


The gossip benches around it remind us of the fact that wells usually were a focal point of village life.

Even though I built it with my WWII Eastern Front in :72 in mind, naturally it will serve equally well for just about any other period as well as fantasy, with both 20 and 25mm figures.

The young lady is from an IMEX Wild West set, the sitting spectator is an anonymous Chinese figure.